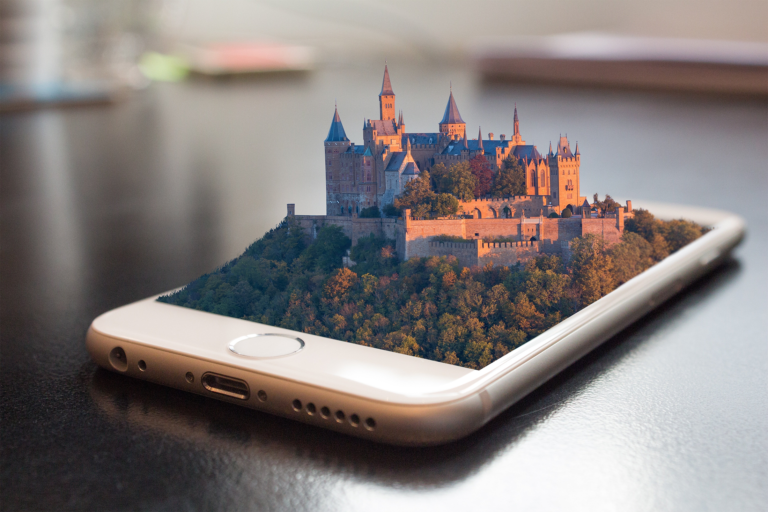
Architectural 3D walkthrough and animation can bring a real-life experience in the design phase itself. With the use of technology, you can visualize the building; way before the building is constructed. It is widely being incorporated in the AEC industry as it provides the customers with a picture-perfect visualization of the products. This has led to a simplified marketing process. To leverage the benefits, the 3D walkthroughs should have a seamless animation.
There are several software available that can create an animation. For Architectural 3D animations, 3Ds Max is one of the preferred software as it allows the users to develop the model and create an animation directly. Here are some effective tips to create Interior and Exterior 3D walkthroughs of a building using 3Ds Max:
#1 Deciding the Drawing Path
The first step towards creating an Architectural animation is to determine the path i.e. starting point, the endpoint and the way through. To ensure that the line and flow of animation is smooth and there are no sharp corners, select a Smooth line. You will find the button for drawing a line from the Command Panel. Once the line is selected, start drawing the path. Select the Top viewport as this is the easiest option. Finally, give an elevation to the path so that it becomes perceivable to normal human eyesight.
#2 Selecting and Adding Camera
The second step in creating an Architectural 3D walkthrough is adding a camera. Select the camera type and place it in the left viewport as the path defined will be followed correctly by the camera with this setting. Now, set other camera parameters including focal length. This completes the set-up of the camera.
#3 Configuring Time
Add the time length of the 3D animation as required using Time Configuration. The time frame rate should be set at 15 frames/second which is the ideal time for a computer animation. If you need to create a 12 second animation with a 15 frames/second setting, the end time must to set to 180. The desired length of the walkthrough can be calibrated in a similar fashion.
#4 Assigning Animation / Walkthrough Path
Once the duration of the Architectural Walkthrough has been set, the next step is to assign a specific path to the camera. To do this, a line must be selected for forming the required path. Select the path constraint and add the path on the line defined previously. Ensure that the camera as well as its target is moving correctly along the defined line. This is the final step in creating the animation. Before proceeding to rendering, it is advisable to preview the animation as the process of rendering can be very long depending on the size of the window as well as the length of the animation. It may so happen that the animation created doesn’t match the expectations and you need to modify the animation. After making the necessary changes, the animation is ready to be rendered. Once rendered, the final walkthrough, along with the added environment, makes for an interesting and effective visual.

Post a Comment